If you are having trouble accessing a web page or using an online service, it may be that your device has cached an out-of-date DNS record which needs to be manually cleared or reset. This is a process known as flushing your DNS cache and is easy to do, but the steps you need to take will depend on what device you are using.
If you are familiar with using your systems command line or terminal, then the commands to flush your DNS for the most popular operating systems are listed below.
If you're unsure of how to use these commands, more detailed instructions including screenshots of each step can be found in the dedicated section for each version.
The following command will work on Windows 7, 8, 10 + Windows Server, but opening the command prompt is slightly different for each version.
Command Prompt (Admin) from the menu.ipconfig /flushdns.


→ view instructions and screenshots for all versions of Windows
From the Mac Terminal app, you need to run the following command depending on your version:
MacOS 11 & 12 (Big Sur, Monterey)
MacOS 10.12 - 10.15 (Sierra, High Sierra, Mojave, Catalina)
Mac OS X 10.7 - 10.9 & 10.11 (Lion, Mountain Lion, Mavericks, El Capitan)
Applications > Utilities directory and open the Terminal app.sudo killall -HUP mDNSResponder.


Mac OS X 10.10 (Yosemite)
sudo discoveryutil mdnsflushcache
Mac OS X 10.6 (Snow Leopard)
sudo dscacheutil -flushcache
Mac OS X 10.5 (Leopard) and below
sudo lookupd -flushcache
→ view full instructions for all versions of MacOS & Mac OS X
From the terminal or SSH session run the following:
systemd - Ubuntu & Debian
systemd-resolve --flush-caches
NSCD
sudo /etc/init.d/nscd restart
DNS records are stored locally in a cache on your computer, phone, tablet, or even smart TV. These devices will automatically cache IP addresses and other DNS records when they perform a DNS lookup request the first time you visit or use them.
DNS results are cached in order to speed up subsequent requests to the same website or service without needing to perform an additional DNS lookup. Sometimes old results will be cached for a long period of time and your device will continue to try communicating with the IP address of the old result even though they may have since been changed, this can often result in you not being able to access a website, game server, or other online service as you would expect.
The amount of time that a result is cached on your local device is known as the TTL (Time-to-Live). Your device will not attempt to check for an updated record from the DNS server if this time has not yet expired. The TTL of DNS records are configured by the domain administrator and can be anywhere from a few minutes up to 3 days or even longer in some cases. For this reason, issues may arise if DNS changes to domain names DNS configuration have been made and your system has a cached result which is not yet due for renewal. If this occurs, then the cache needs to be cleared for your system to know how to communicate with the new server.
There are a few signs that may indicate that you need to flush your DNS, some of these include:
DNS records don't match: You can easily check DNS propagation globally for any domain name, and if your local system is not returning the same results then this may indicate that you need to flush your DNS.
If you are a website owner and you have recently made changes to your domain, name servers, or DNS hosting providers settings and are having troubles accessing your own website, then it is likely that you will run into DNS caching issues, and you need to flush your DNS cache.
Unable to access websites: If you are unable to access a website, which you normally have no problems with then this may indicate a DNS cache issue.
Page not found errors: If you are getting a 404 page not found error, then it may mean that the page has simply been deleted. If, however you know that the page does exist, as it is your own website then this may mean that you are connecting to an old server which does not have the page you are after. This is often the problem when you have changed domain or hosting providers.
Seeing old versions of a website: If changes have been made to the DNS configuration of a website, you may not be connecting to the new version. If this is the case, flushing your DNS may help resolve the issue.
As you can see, there are a variety of reasons for needing to clear your DNS cache, so it is worth clearing your DNS cache to eliminate it as a possible point of failure.
When you clear your DNS cache, your device will purge all local DNS records which have been previously resolved and cached regardless of the TTL set on the record. This means that when you access a website or service the next time, a new DNS lookup will need to be performed to get this information and it will be once again cached for future requests.
Yes, it is safe to flush your DNS. Some people worry about clearing or resetting their DNS cache, or if doing it too often will cause some sort of damage. This may be due to some operating systems asking for administrator permission or elevated privileges in order to do so. However, you do not need be worried as it is perfectly okay and will not cause any damage to your system or device.
It should be noted that when you do flush your DNS cache, that the first time you access a website or service again after having done so will mean that a full DNS lookup will need to be performed, which will add a slight delay to the connection and may for example make a page appear to load more slowly. This is typically a very small delay, and most people would not be able to notice.
Typically flushing your DNS cache does not speed up your internet connection itself, however it is possible that doing so may make certain sites or services faster.
If service providers have moved their hosting infrastructure to more performant servers or network and you have a cached DNS record still pointing to an old server, then by flushing your DNS cache you will be able to start accessing the new server or network without having to wait for the records to expire naturally.
Some service providers use DNS servers which return multiple results for fault tolerance, routing and performance reasons. These results can depend on where you are located, and in certain circumstances you may receive results incorrectly or when maintenance was happening in a certain region, and you are assigned to a region which is not optimal. When this happens, at least getting slower access is better than no access. If this is the case, then flushing your DNS cache could have you connecting to a closer server resulting in faster access and improved performance.
Flushing the DNS cache on Windows is easy to do but depending on which version of Windows you are running the steps will vary slightly.
Additionally, you will need to make sure that you have administrator permissions in order to flush the DNS cache on Windows as this is a system level command.
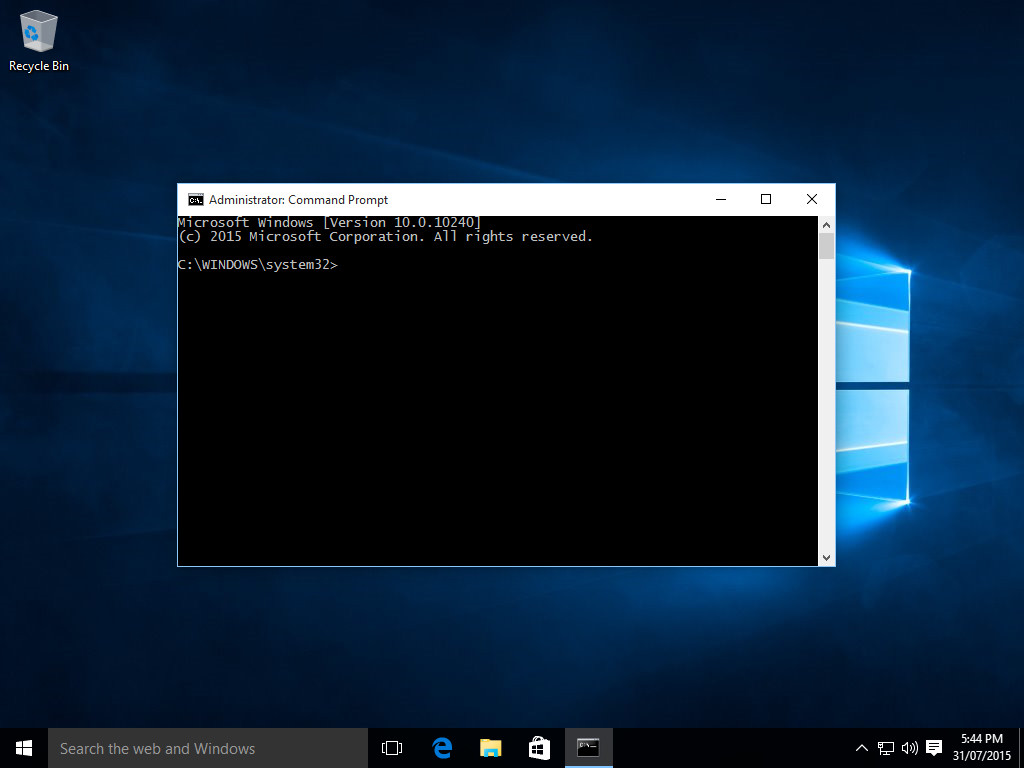
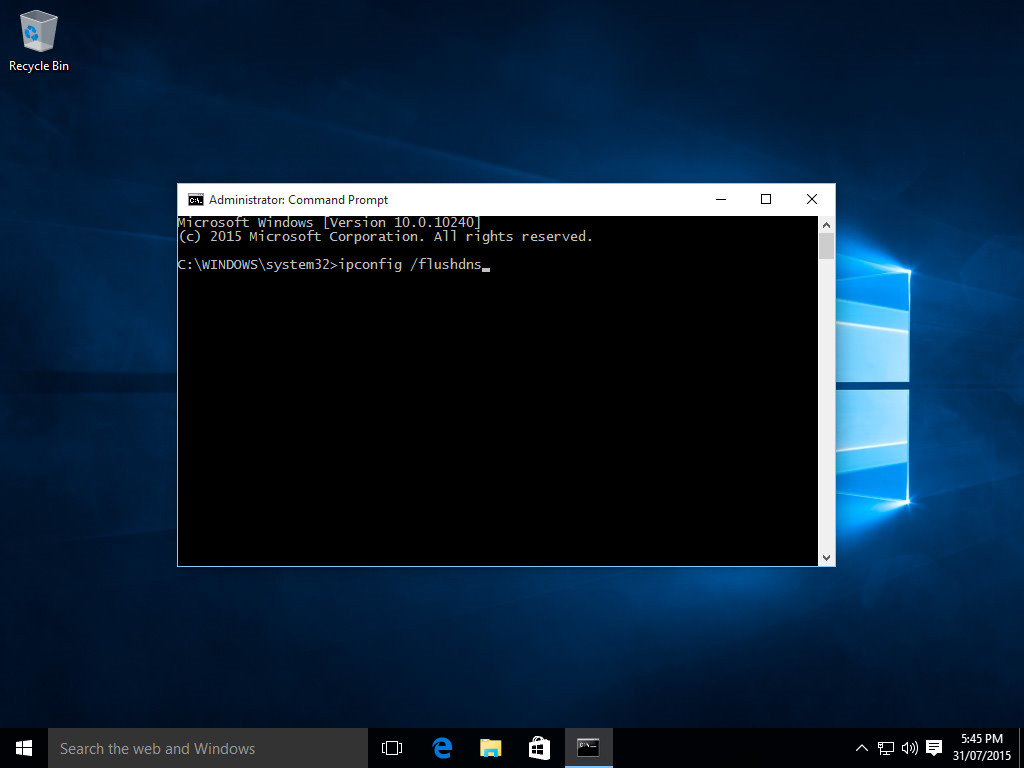
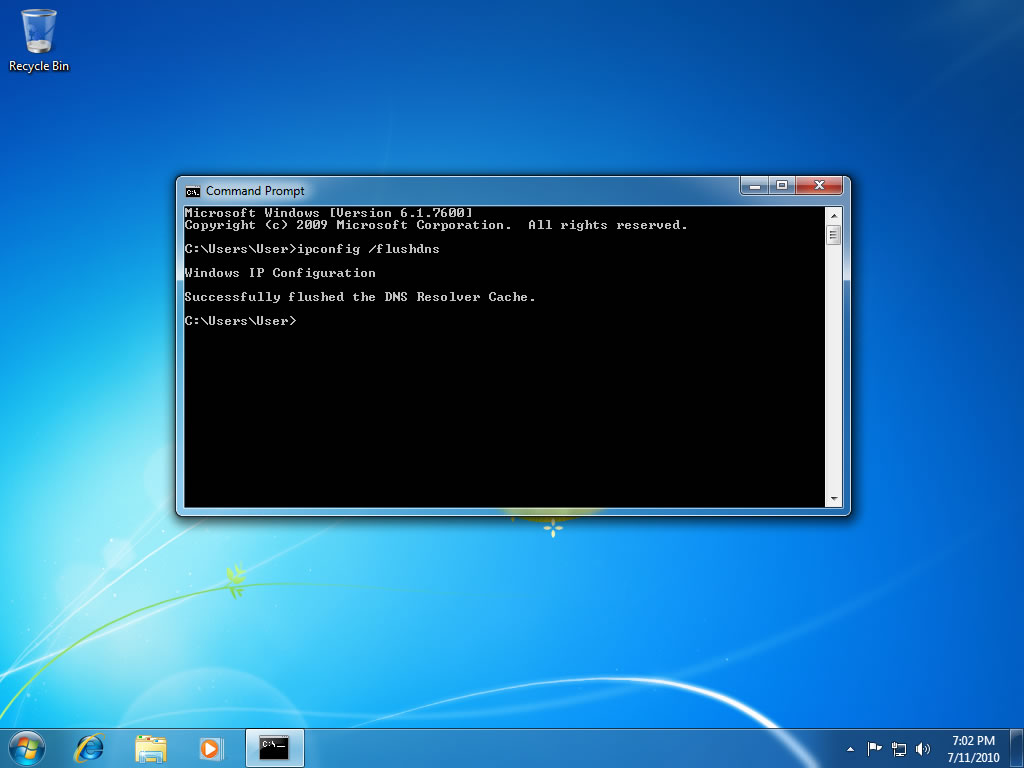
Flushing the DNS cache on Windows 10 is a very easy process. Due to system security permissions, you must ensure that you run the command prompt as an administrator user.
Command Prompt (Admin) from the menu.ipconfig /flushdns
Some additional commands which can be run from the command prompt to reset your network connection and renew your IP address which can also help resolve issues are:
ipconfig /release - Release your network connections assigned IP address.
ipconfig /renew - Renew your network connection and obtain a new IP address.
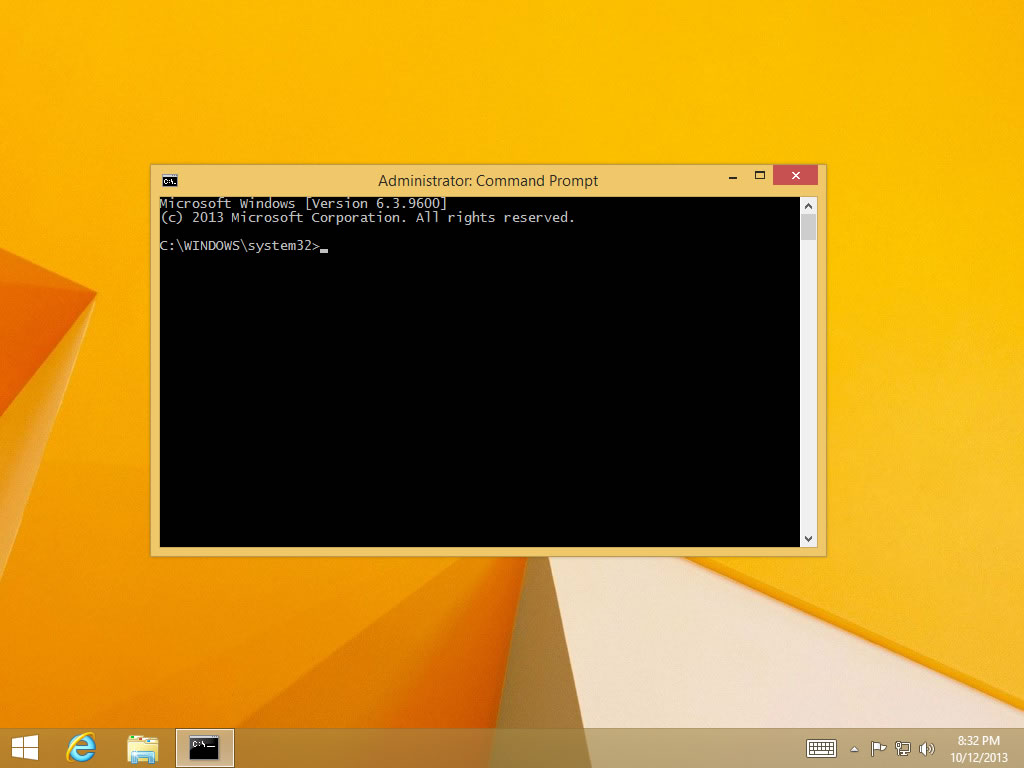
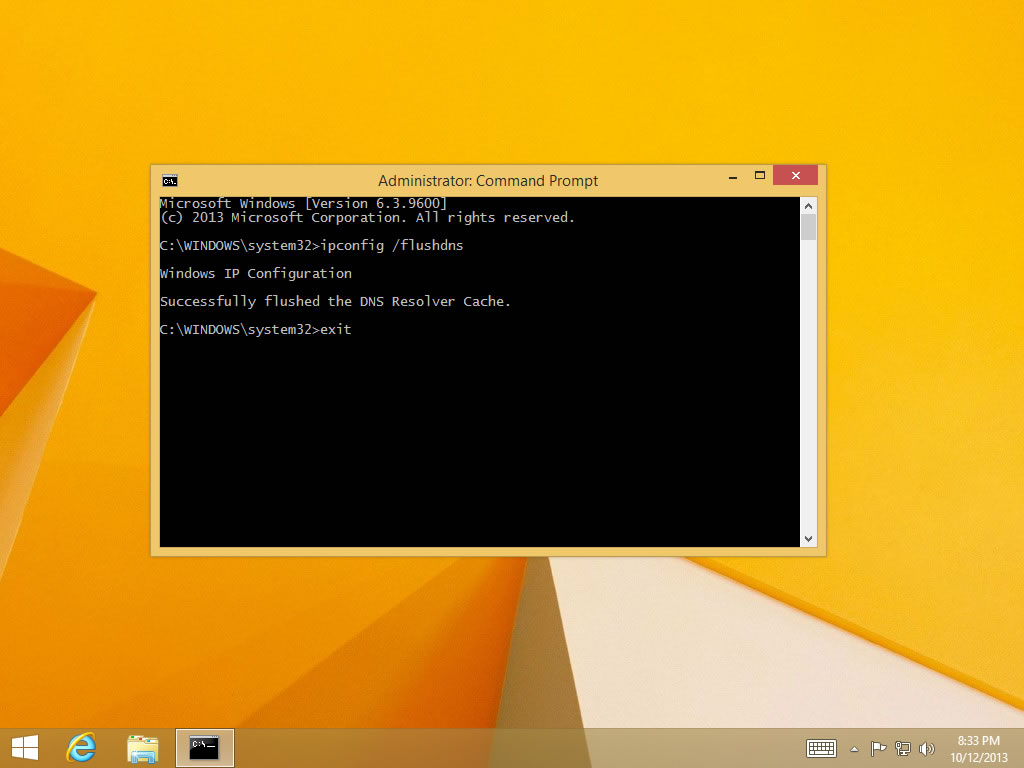
Flushing the DNS cache on Windows 8 and Windows 8.1 is a very easy process. Due to system security permissions, you must ensure that you run the command prompt as an administrator user.
cmd and the Windows search bar will appear on the right-hand side with search results.Command Prompt and click Run as administratoripconfig /flushdns


Flushing DNS on newer versions of Windows is almost as easy as the earlier versions but due to Microsoft's security additions you must run the command prompt with administrator privileges.
ipconfig /flushdns


Note: It is also possible to type in cmd into the Windows Vista / Windows 7 start menu search field and then right click on the cmd.exe result instead of having to navigate through the various sub menus.
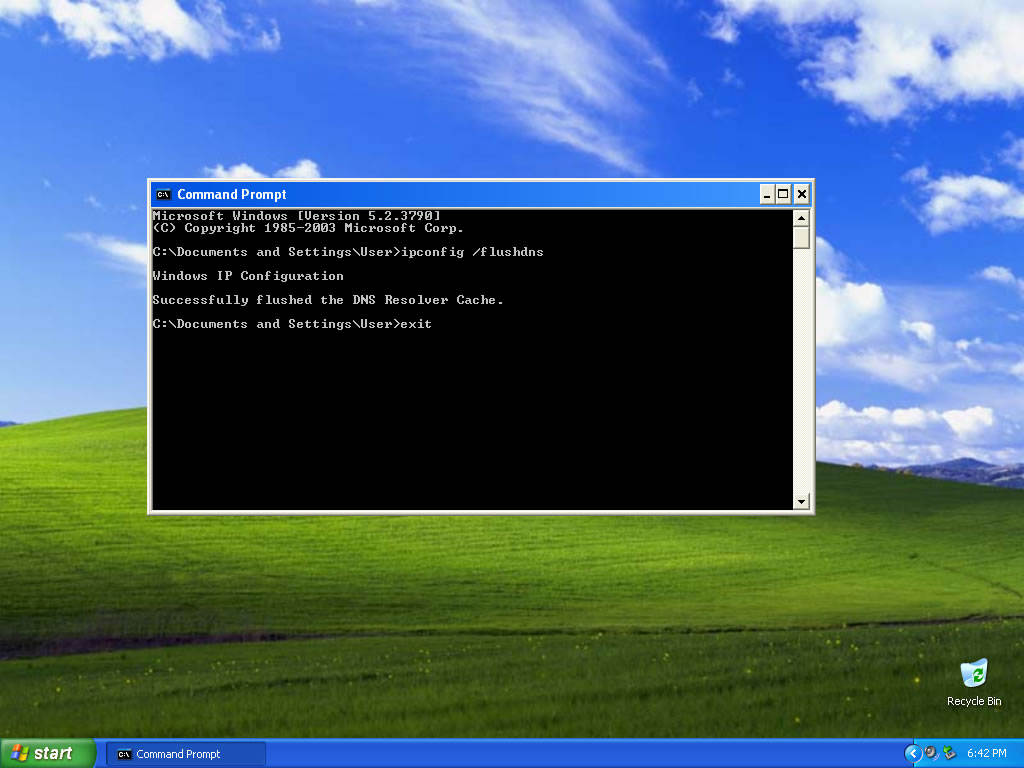
Flushing the DNS on Windows is an easy process, outlined below is the steps that should be run if you wish to clear your DNS cache.
cmd.exe > OK).ipconfig /flushdns


Flushing the DNS in MacOS and Mac OS X is an easy process, but the steps taken will depend on which version of MacOS you are running.
The first step you need to do is identify which version of MacOS you are running.
Note: You will need administrator permissions in order to flush the DNS cache on Mac, this can be done by running the commands as the root user or using sudo before each command.


If you are running MacOS 12, you need to follow the below steps:
Applications > Utilities directory and open the Terminal app.sudo killall -HUP mDNSResponder.If you are running MacOS 11, you need to follow the below steps:
Applications > Utilities directory and open the Terminal app.sudo killall -HUP mDNSResponder.If you are running MacOS 10.15, you need to follow the below steps:
Applications > Utilities directory and open the Terminal app.sudo killall -HUP mDNSResponder.If you are running MacOS 10.14, you need to follow the below steps:
Applications > Utilities directory and open the Terminal app.sudo killall -HUP mDNSResponder.If you are running MacOS 10.13, you need to follow the below steps:
Applications > Utilities directory and open the Terminal app.sudo killall -HUP mDNSResponder.If you are running MacOS 10.12, you need to follow the below steps:
Applications > Utilities directory and open the Terminal app.sudo killall -HUP mDNSResponder.If you are running Mac OS X 10.11, you need to follow the below steps:
Applications > Utilities directory and open the Terminal app.sudo killall -HUP mDNSResponder.If you are running Mac OS X 10.10, you need to follow the below steps:
Applications > Utilities directory and open the Terminal app.sudo discoveryutil udnsflushcaches.If you are running Mac OS X 10.9, you need to follow the below steps:
Applications > Utilities directory and open the Terminal app.sudo killall -HUP mDNSResponder.If you are running Mac OS X 10.8, you need to follow the below steps:
Applications > Utilities directory and open the Terminal app.sudo killall -HUP mDNSResponder.If you are running Mac OS X 10.7, you need to follow the below steps:
Applications > Utilities directory and open the Terminal app.sudo killall -HUP mDNSResponder.If you are running Mac OS X 10.6, you need to follow the below steps:
Applications > Utilities directory and open the Terminal app.sudo dscacheutil -flushcache.If you are running Mac OS X 10.5.1 or below, you need to follow the below steps:
Applications > Utilities directory and open the Terminal app.sudo lookupd -flushcache.For Linux systems including Ubuntu, Debian, Red Hat, Fedora, CentOS etc flushing your DNS cache will depend on how your system is configured and which service is responsible for DNS caching.
If you are running a system that uses systemd like Ubuntu or other Debian based systems, in order to flush your DNS cache then you will need to run the following.
sudo).systemd-resolve --flush-cachessystemd-resolve --statisticsIf you are running the nscd Name Service Cache Daemon and wish to flush your DNS cache, then you will need to do the following.
sudo)./etc/init.d/nscd restartSometimes the standard way of flushing your DNS cache my not be possible, for example if you do not have administrator permissions. Luckily, there are a few other ways to achieve the same result which can often be easier to do.
Restart your device: If you are having issues with any of the other solutions mentioned on this page, then you can try restarting your device. This may not work in all cases but is definitely worth trying.
Reset your network connection: You may try disconnecting and reconnecting a WiFi connection or unplugging and plugging back in an ethernet cable to try and reset your network connection.
Change DNS server: You may consider using one of the popular Global DNS Servers which provide many benefits including speed and security as well as allowing you the ability to ask them to clear their cache.
Hosts file: While making changes to your systems hosts file will not actually flush your DNS cache, it will allow you to force a certain domain name to resolve to a certain IP address. This can be useful as a temporary solution but should not be relied on long term.
If you are using a DNS server which allows you to let them know that a record is out of date and needs to be cleared, then they might provide a web interface in order to do so.
Some of the popular providers which all you to do this are listed below:
Cloudflare 1.1.1.1
Cloudflare offers a popular public DNS resolver known as 1.1.1.1 which allows you to clear the DNS cache that they have.
Google Public DNS 8.8.8.8
Google public DNS resolver also allows you to clear the cache of any domain name in their cache.
OpenDNS
OpenDNS public DNS servers allow you to clear the shared cache of domains that they have cached for all their users.
